
savage bulldogs
Moderators
-
Joined
-
Last visited
Everything posted by savage bulldogs
-
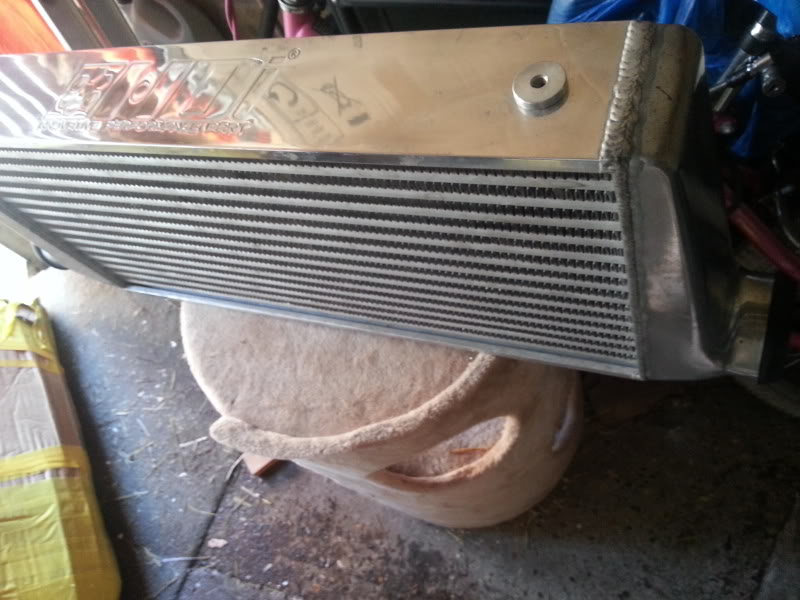
You're right about the ratios jay I do seem to always be in the right gear to hit the power :-D Mrs has bought me a hybrid fmic with polished ally hard pipes for xmas :-D !Removed! thing is huge ,don't think I'm gonna have much front bumper left once I fit it lol. I'm not a fan of dump valves so I'm gonna try to retain the factory's recirculation valve .As it dumps the air pressure back into the intake tract rather than venting it into atmosphere (every little bit of boost helps imo ) I've made a start on getting the old paint off the 2 pot rear calipers I picked up last month but , it's far to cold in the man cave to continue with those this year . Need a 3" decat classic downpipe and decent cone filter , (not fussed what size bore cone filter) as im gonna make up something to delete the maff and re route induction for the fmic pipework (as the standard air box will have to be removed)
-
If I do eventually get a 2 door shell it would only be a fresh import type r ( if your lucky you can pick up a bare shell for about £1, 200) As the shells are the same and I wouldn't be paying p1 prices for a load of bit's ive already got on my v3 uk turbo ;-)
-
Yeah nothing wrong with graphics ,each to their own taste when modding bud imo it's all about making your mark on a motor :-) As for that pic of a 2 door someone off another forum put it up asking what the name of the body kit was and it caught my eye (so I know nothing about it lol). Once my mechanics are sorted I'll be looking at a 2 door reshell (I was gonna go for clean oe looks modded underneath) but I'm liking the look of a wide arch body kit recently
-
Gotta admit 2 door classics are my favourite looking scoob , love the 22b and quite like the look of this. Im not a fan of graphics myself, but I do like that body kit
-
Duncan is based in Brighton last I heard , he used to live in Suffolk and fitted my esl and originally mapped it 2 yrs ago .He's a respected mapper but , imo he's better with the newage stuff (my afr was a bit rich on my classic ) no disrespect ment as his newage maps were spot on at my recent rr day . Simon's based in Surrey and knows his scoobs ,he owns a 1, 000 + hp classic himself :-) hence why I thought id give him a try this time around ;-) Both of them will either come to you and map on the road or go to a rolling road of your choice . Once my fmic is fitted I'll be heading to a rolling road for a map tweek with simon so A. I can get a power graph and visually check the afr, boost and torque B. I don't have to use flat to the floor throttle on the road as traffic and weather can be a issue (when all 4 of my tyres light up in the dry already lol )
-
I'm not sure if the ecu from the v2 sti would be a straight swop as yours being a 94 i think it will be a v1 (v1 sti ecus are fitted with the S.A ecu). Although the earlier sti's (v1 &v2) have the same turbo and injectors as the wrx the sti has different cams as well as the more aggressive map . I'd personally stick away from generic "chips" (like the mines chipped ecu) as they're not bespoke to the car and therefore not 100% safe and won't get the maximum performance out of the car/ mods . Probably the cheapest option would be to look for a second hand esl boarded ecu (from the same year would defo just plug in) you'll pay about£150 to £200 for the ecu and about another £200 for a remap . Alternatively drop simon @jgm a email and he would supply, fit and map a new esl board for about £550 Or there is the apexi ecu which is about £350 +fitting+mapping
-
I have heard that oil plays havoc with maffs but id also heard that the scooby maffs (especially classics) prone to fail anyways :-( i had my pannel filter in for a good 3 k miles and didn't have any maff issues but due to the rumours I'm now running maffless (esl ) in my 97 classic ;-)
-
I didn't like the idea of a cone filter sucking hot air from under the bonnet so did a resonator delete (cut the air tumbler out from under the wing ) which increases air flow and fitted a k &n pannel filter as one of my first mods . Saying that once I fit a fmic I'll have to fit a cone filter as the fmic pipework gets in the way of the standard air box ,but I'll try to run a cold feed and fit one with a heat shield .
-
The gasket might have gone pressurising the coolant and therfore you wouldn't loose much fluid , but I don't understand why you would loose the heating . (Mabey get a coolant sniff test done to be safe .) Might be a blockage in the water system , try flushing the oil cooler , main rad or heater matrix (anything with a pipe either end) with a hose . Check the thermostat or header tank cap isn't faulty/sticking . Hopefully it's a cheap fix fella
-
I filled mine after the engine change by starting to fill the system through the header tank with the engine off ,heater controls in the hot position ,pumping bottom and top rad hoses (and any other coolant hoses) as I filled . I made sure that there was coolant in the header tank at all times (didn't let it suck dry) . Once I couldn't get anymore coolant into the header tank I ran the car for 5 mins with the header cap off topping up with coolant as needed but, again making sure the header tank had coolant in at all times . Are you getting any steam (excessive white smoke ) outta the exhaust as it might be head gasket (although I hope not )or you could try checking the spark plugs for any sign of water in the bores . Hope you sort it soon fella
-
Mine was a ty52 box with good service history 90k I don't launch it and drive with mechanical sympathy but it died @ about 330 hp. My brv ate 2 5 speeds in as many months @ 340 hp but yet again they were the earlier ty52's .saying that I know someone that ran 375 hp on a ty 52 but he knew he was on borrowed time and upgraded to a 6 speed soon after) The later ty54's do tend to handle a bit more but ,I think for reliability and longevity I'd bear it in mind bud (especially if you are planning further mods to reach 400 ish) as you don't want any nasty costly surprises. P.s the box code is on a white sticker on the bell housing near the starter motor and will begin with a TY...... number ;-)
-
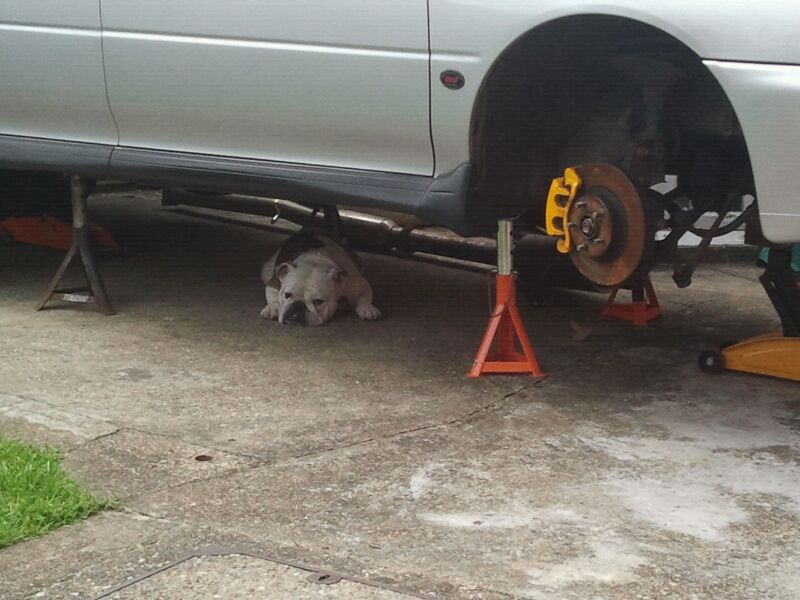
She's far to lazy and stubborn to be of any help , all she does is get under my feet and crawl under the car to have a kip in the shade
-
Yes bud that's where the o2 sensor is on my 97 classic ;-) the early ones were in the headers but, were moved to the downpipe(after the turbo) due to some failing and sending debris into the turbo .id check the wires/plug before you buy another sensor as their prone to cracking the insulation . Also might be worth disconnecting the battery earth for 10 mins after clearing the ecu codes , as some codes can be still stored on the ecu (even though youve done a ecu reset) Just saw your post on the egt sensor I haven't seen one on mine but , I was told that the wiring on my 6 speed was for a newage egt and that sat near the mid section of the exhaust . Hope that helps ,Best of luck bud
-
Thanks for the comments chaps . Sorry fellas I'm afraid the closest your get to a pic of the woman in my life is of liz (my avatar) . As for aiming for above 330 (with the exception of micks 6 speed sti) watch out as you'll need a gearbox/ clutch upgrade and you won't get much change outta £2k and that's if you fit it yourself ;-)

-
Sorry no pics im afraid fellas lol I didn't think she should have had it done and she certainly didn't need it imo , at least she won't be spending any scooby modding money on shoes ..... As i Don't think she can see her feet anymore Mind you if Id have had it my way the money would have bought a twin scroll conversion bigger brakes and a 2 door re shell :-)
-
Cheers mick tbo most of the write up was copied and pasted off my local forum Gambit the mrs did say I could have the forged build and the 6 speed if she could have new norks . Who am I to argue :-D Will admit i Might by her some low cut tops for xmas and bin the elbaich suspension for rock hard coil overs to get the most outta her mods though ;-) I edited the 6 speed conversion in on this post as we lost a few pages when the forum had some server issues You can use the 5 speed clutch,clutch slave, flywheel and starter although I chose to use 6 speed items that came with the box (due to the larger dia clutch plate handing more power). The 6speed was out of a 04 plate uk sti with ppp and had female drive shaft sockets so I bought this stub axle conversion kit from importcarparts And one of it fitted (so it matches up with the classic drive shafts) with new drive/ prop shaft seals As i couldn't afford the rear 180 hubs and brakes I was lucky enough that the 97 uk turbo has a 3.54 ratio rear diff it matches the ratio of the UK sti box . Therefore I could retain my 160 rear diff, shafts and brakes until funds allow for the upgrade to the 180 set up . Other than the stub axle kit and everything else needed was in the kit I bought . 6 speed uk gearbox 6 speed Gear shift 6 speed Cradle 6 speed Prop shaft I had to use the bit of classic loom (with black and white plugs on) off the 5 speed so it matched up with the 97 loom but otherwise quite a straightforward conversion . Although it was !Removed! heavy to fit and the weather's been ****e im well chuffed with the difference 6 speed has made And glad the 5 speed spat it's dummy out now ;)

-
Nice work matt and good luck with the mot Did you have to shorten the brake fluid reservoir to make the newage tmic fit ?
-
Yeah I like the idea of less lag too :-D as a big single scrolling turbo would take a bit longer to spool ,but would pack a bigger punch when it did come on full boost .which is why most like the pull of a turbocharged car compared to the smoother pull of a bigger n/a engine (which id imagine the twin scroll would be like). I've got plenty of time to make my mind up anyways as either option would cost over £1k and after the engine build , 6 speed and the mrs boob job this year im pretty skint lol
-
Imo the tmic isn't a very good design as it suffers from heat soak when stationery (scoop doesn't blow air through it ) I've also heard of newage tmics running close to 400 but, a fmic and induction kit will be next on the list for me . Still haven't quite made my mind up on the "bigger " turbo as I'm toying with the idea of a twin scroll set up ;-)For drive ability on the road but ,I'd have to change sump (and oil pick up/dipstick) headers, upipe, downpipe and turbo if I did .which would give less lag than a bigger billet turbo but more cost and hassle
-
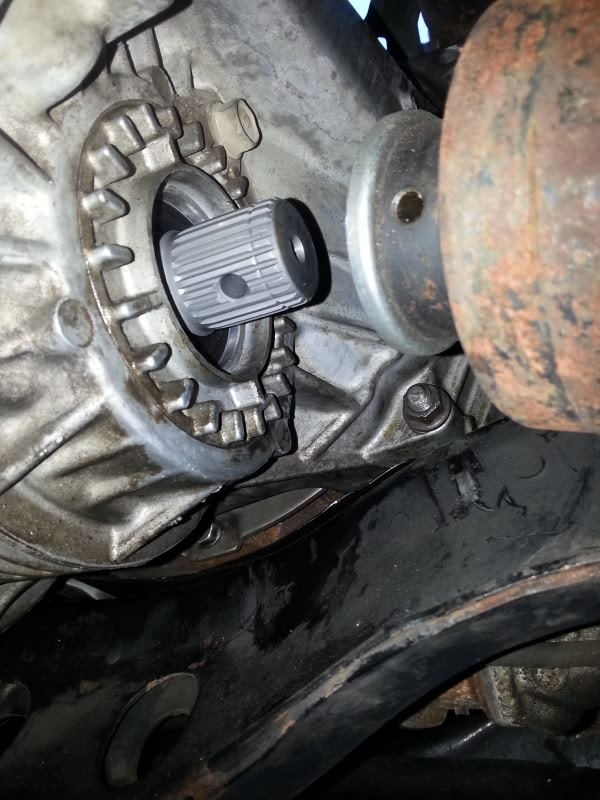
due to the 2ltr crank 500 hp is the max hp the engine should be good for. After the running period I fitted a fpr and 555 nismo injectors (which will be good for just over 400hp) and had it remapped by jgm. while having it remapped it seems more than fast enough for road use at about 330/340 :) so I was in no hurry to do anything else for a while but shortly after the remap my 5 speed turned into a 4 speed and died so its now running a 6 speed with exedy pink box clutch .so It now would seem a shame not to find a bigger turbo to break the 400 hp mark the 6 speed clutch is good for only really encountered 2 major problems so far :( firstly I pushed the crank seal in to far which caused a major oil leak at the back end which meant I had to remove the engine ,replace and refit the crank oil seal then refit the engine doh lol secondly the car pulled sweetly during the mapping session and simon said it was running about 330 hp /340 flbs and felt quick ,but a rolling road day showed only 290/ 270 after looking at the afr ,power and boost graphs both me and simon think their so similar to the previous map that im not running his new map due to my fandangled alarm system cutting the power to the esl'd ecu during the transfer of the maps so hes gonna have a squint at my scoob this weekend to try to suss whats up B)
-
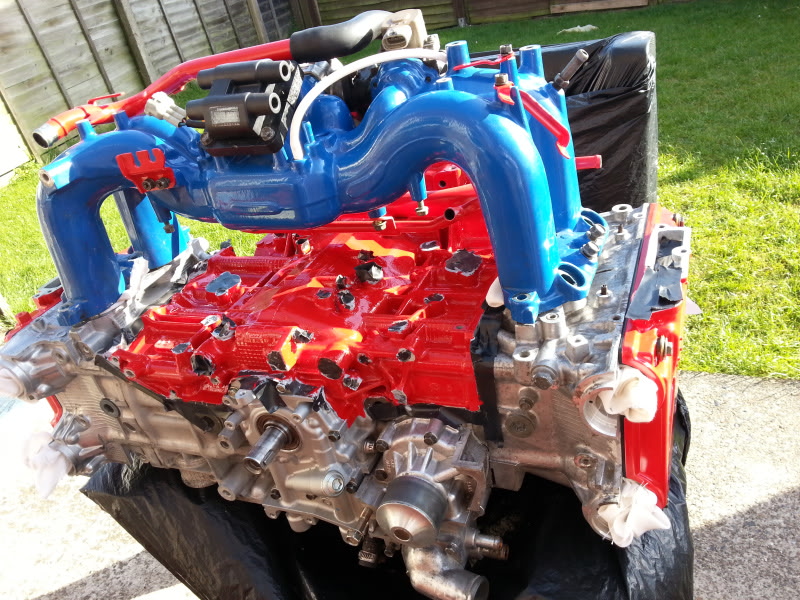
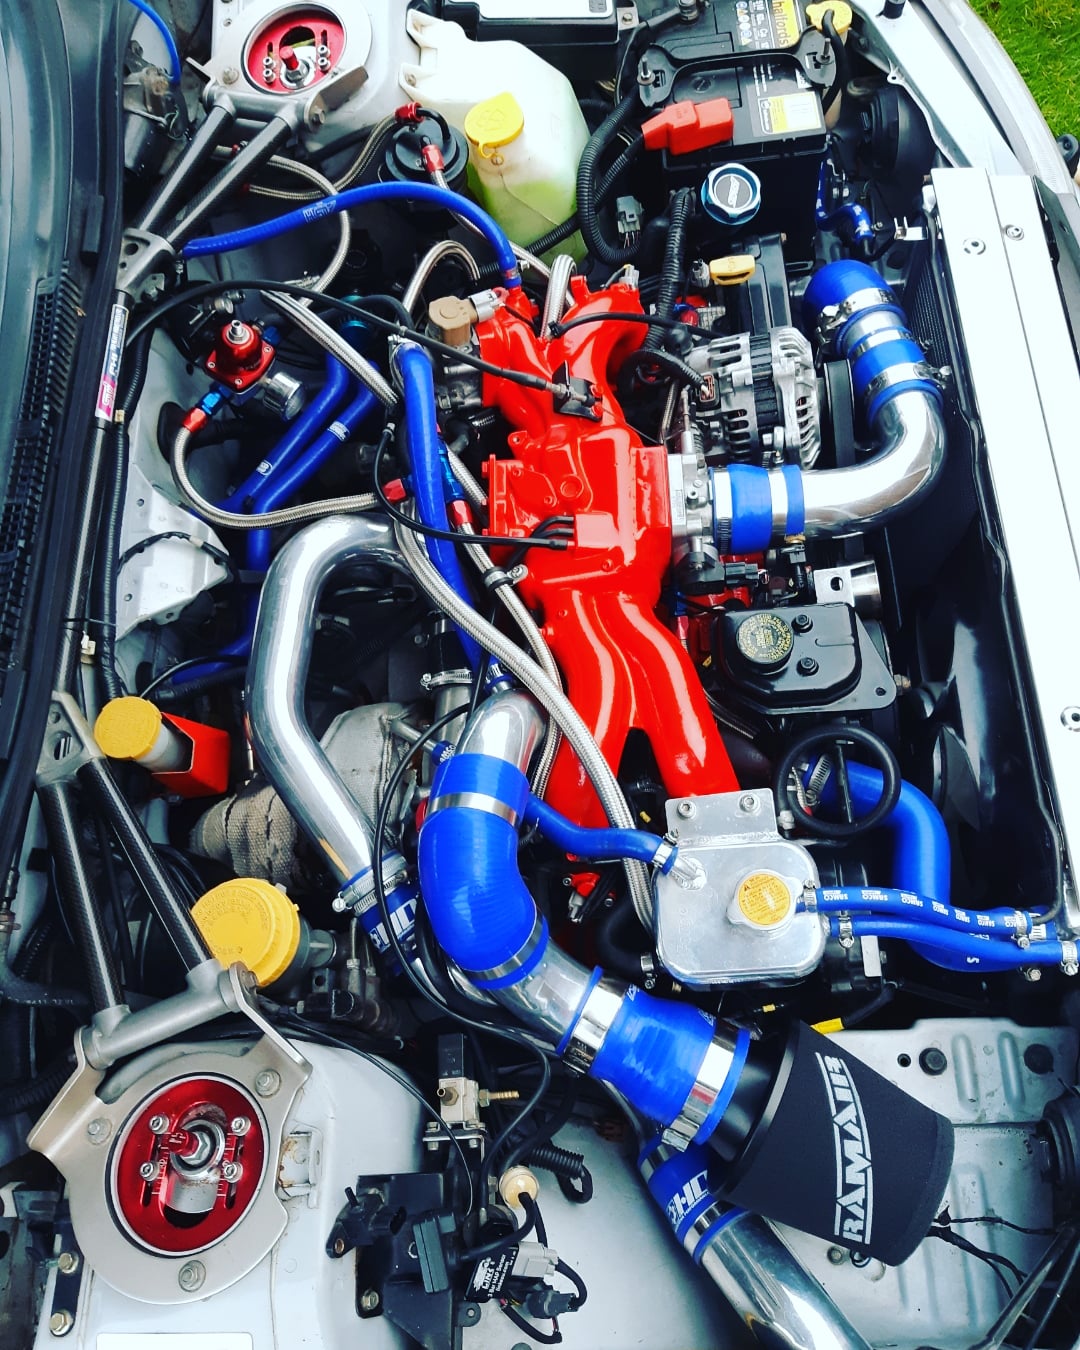
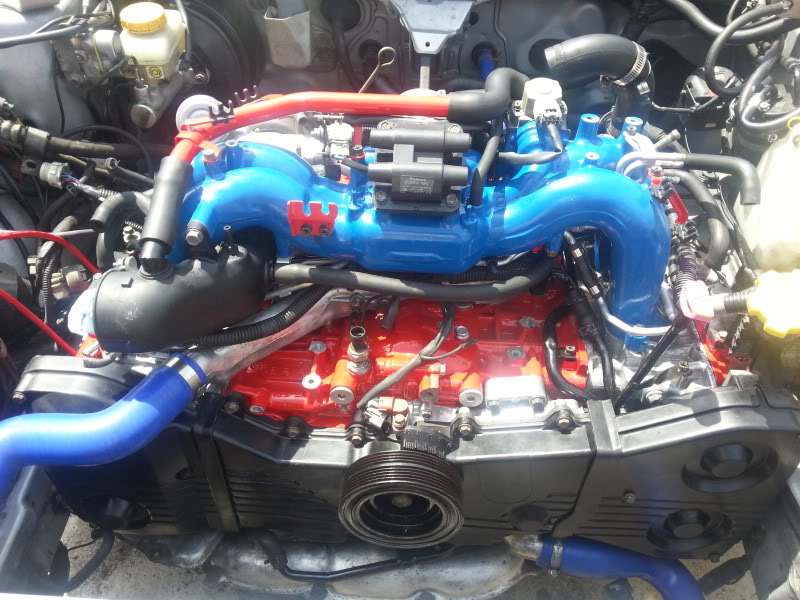
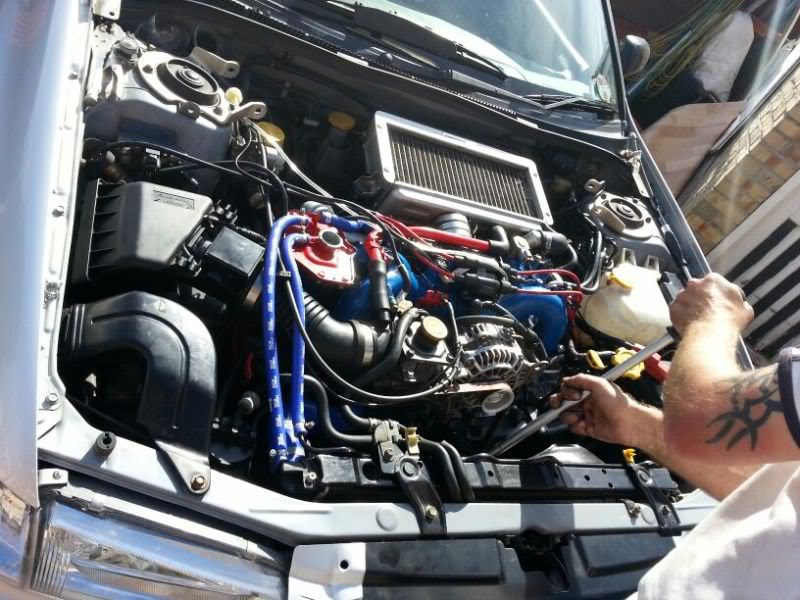
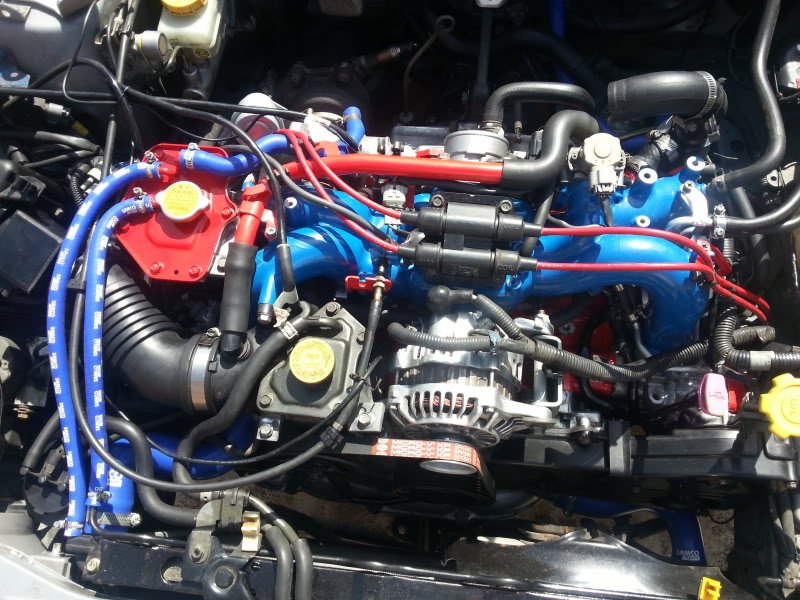
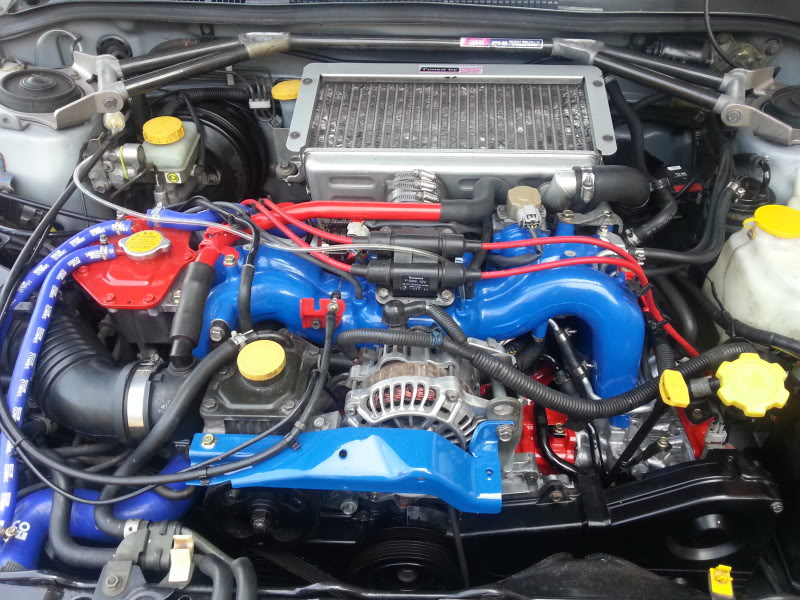
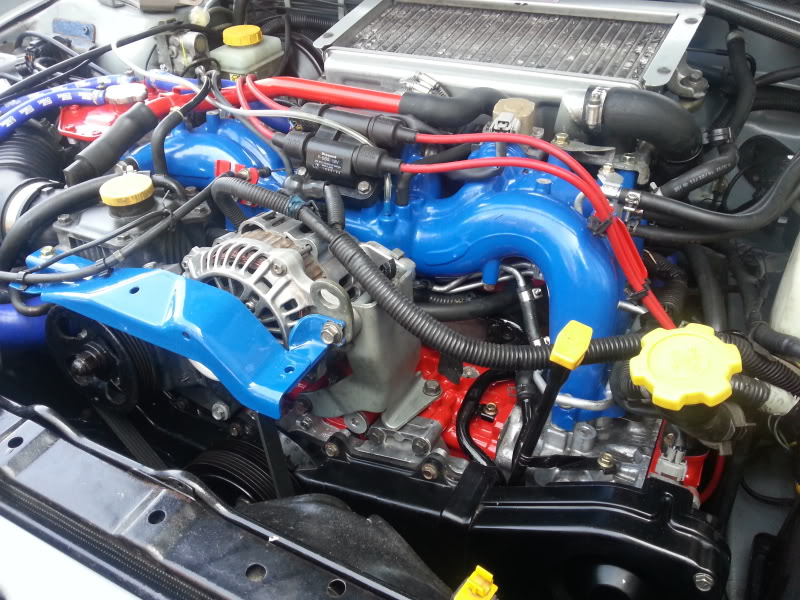
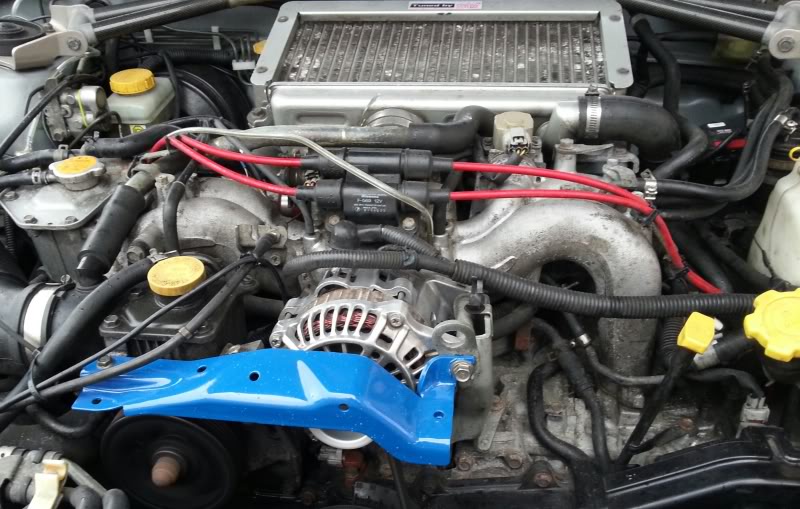
I was inspired by a few threads on other forums and gave up the pub to put my money and time to better use ;) the build cost me just under £2k and probably 3 weeks of my time (evenings and weekends) I used a spare inlet to remove the old engine and set about stripping the water crossover pipe and sensors and fitting them to the new engine with the td05 . then cleaned the engine bay up a bit and lowered the new engine in using the old inlet next up fitting the shiny inlet with everything attached once the auxiliaries and tmic were on filled it with fluids and turned it over by hand a few times unplugged the crank sensor (so it wouldn't start straight away) turned it over a few times with the starter motor to get the oil all round the internals before the initial start up😉 plugged the crank sensor back on took a deep breath and turned the key ...... started on the button sounding sweet with good oil pressure and heres a couple of pics of it fitted
-
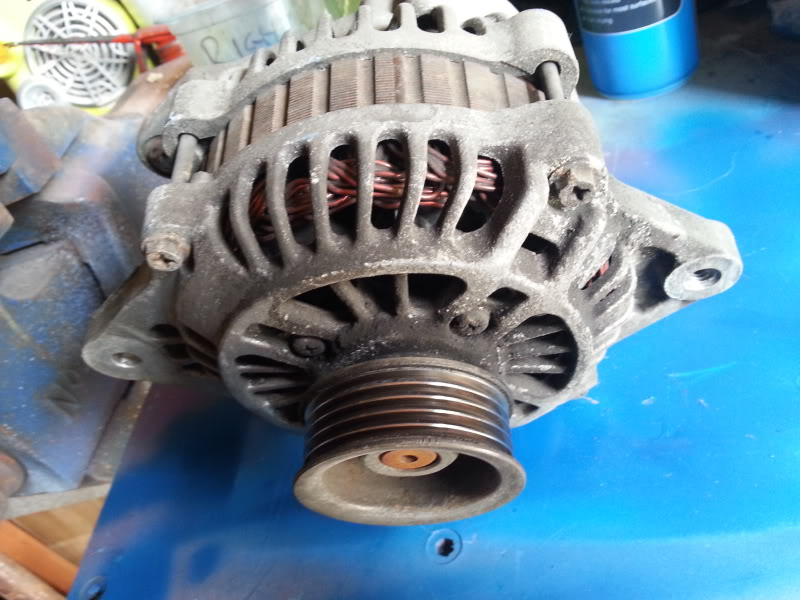
Make sure you at least un plug the alternator (preferably remove it all together) as if you poke it with a with a wire brush connected it tends to spark /crackle and scare the crap outta you lol . I was fairly lucky with the weather around spring time (As most of you know the engines fitted now with 2k on the clock) .just thought I'd share what I've been up to (with a few pics ) and in case it helps anyone else with their project . Thanks again for the comments chaps . Clive
-
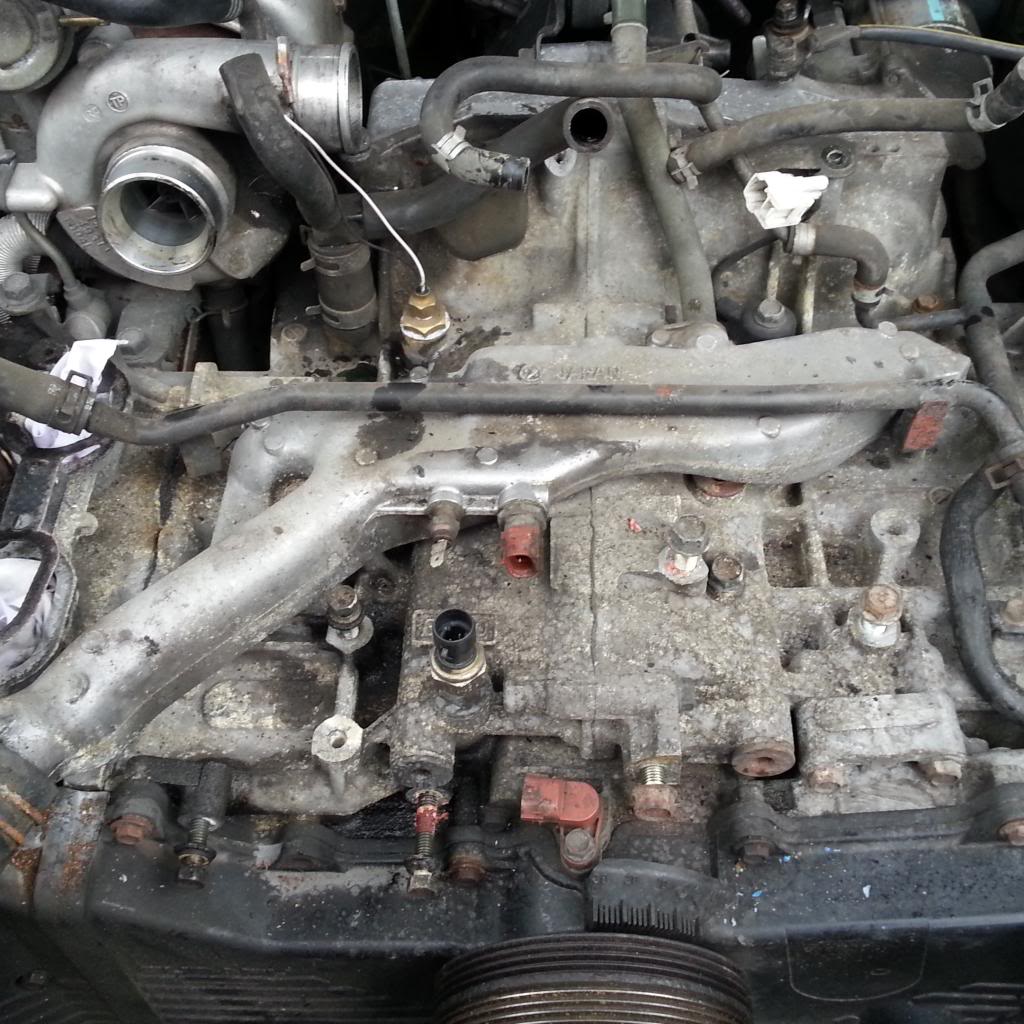
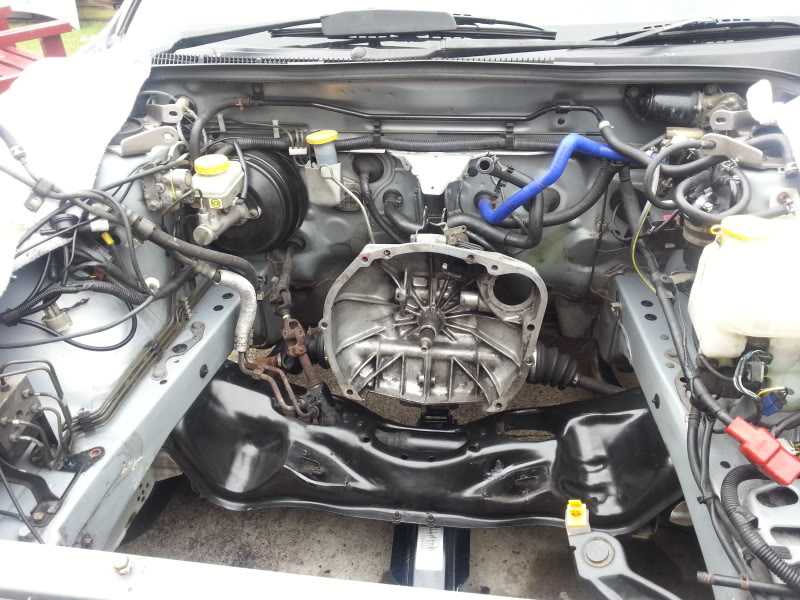
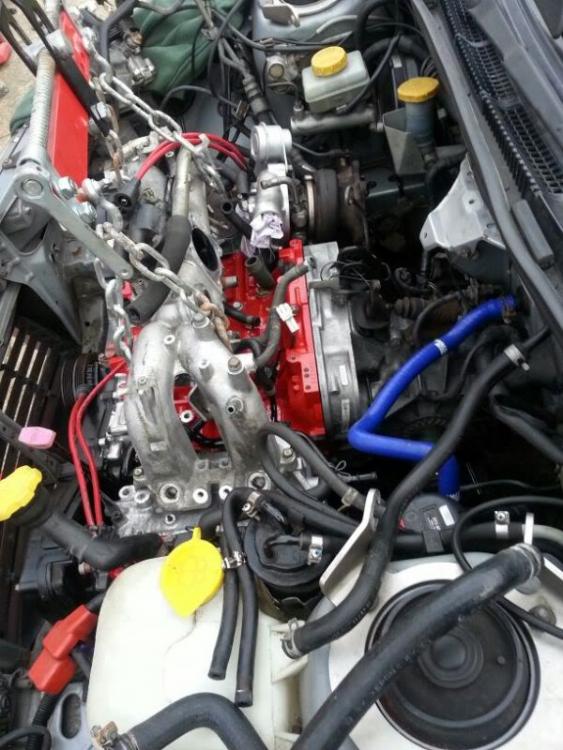
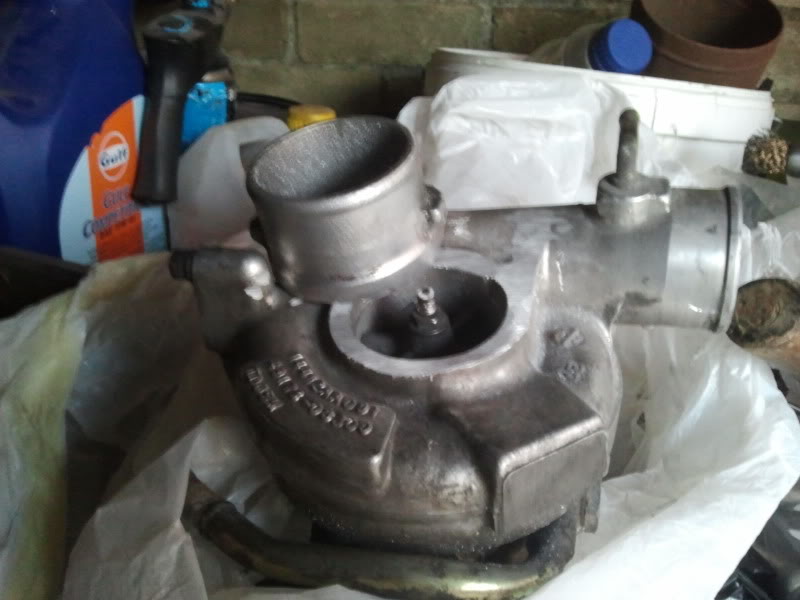
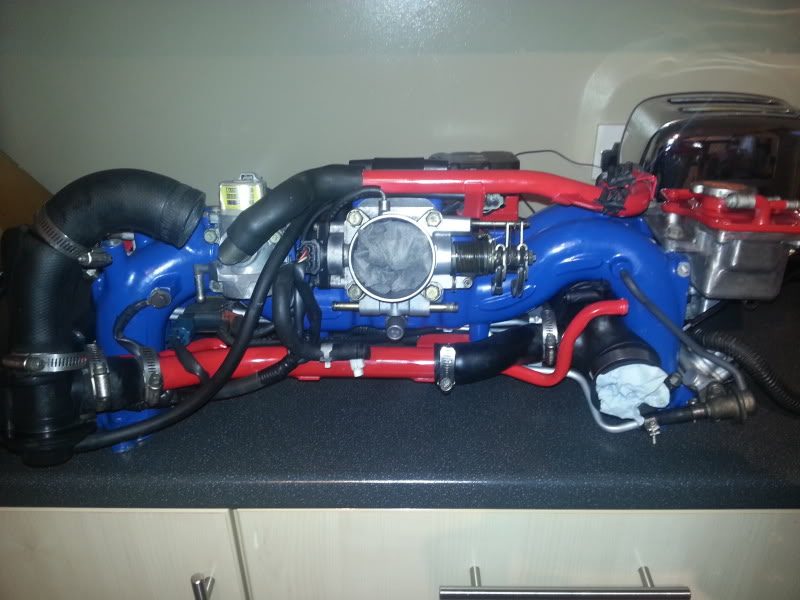
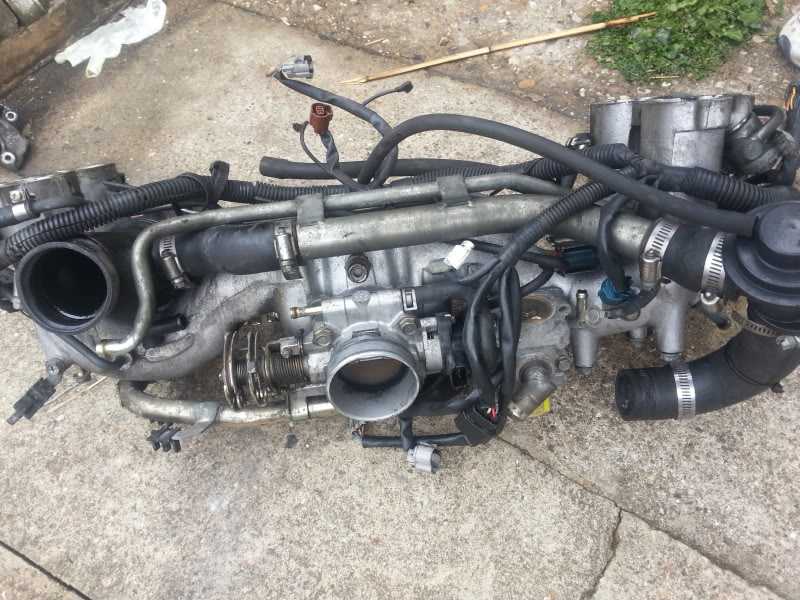
Im sure the pink dipstick is up to someone's taste jay , but not my cuppa tea lol got the converted tdo5 back from the engineers and will be fitting new seals on reasembly ,i know i wont be able to push the limits of my build with the tdo5 but it stands me in £40 for the welding and seals and should let me reach near the 340hp mark after its run in:cool: made a start on a friday evening stripping auxiliaries and inlet off my scoob so i could start cleaning prepping and painting them and there was'nt a great deal left under the bonnet by the time id finished 😢 once the rad, alternator and power steering pump are off the engine loom unplugs from either end and you can remove the inlet manifold with inlet pipe,fuel lines,injectors,throttle body ect in one piece once id made note of where all the pipes and wires went i stripped cleaned everything .prepped and painted the fuel lines/rails and header tank and left them to dry over night . as the weathers been rubish today all iv managed to do is fit the water crossover pipe/and the senders and sensors to the new block .Then re assemble the inlet parts but, i will admit it took a lot of time working out the correct route for the fuel lines ,vacume pipes and wires anyways as i did'nt have a section in my pdf manual for the v3 inlet so just worked of memory and a few pics i took ,did make life a bit easier having the other powder coated inlet ready assembled .

-
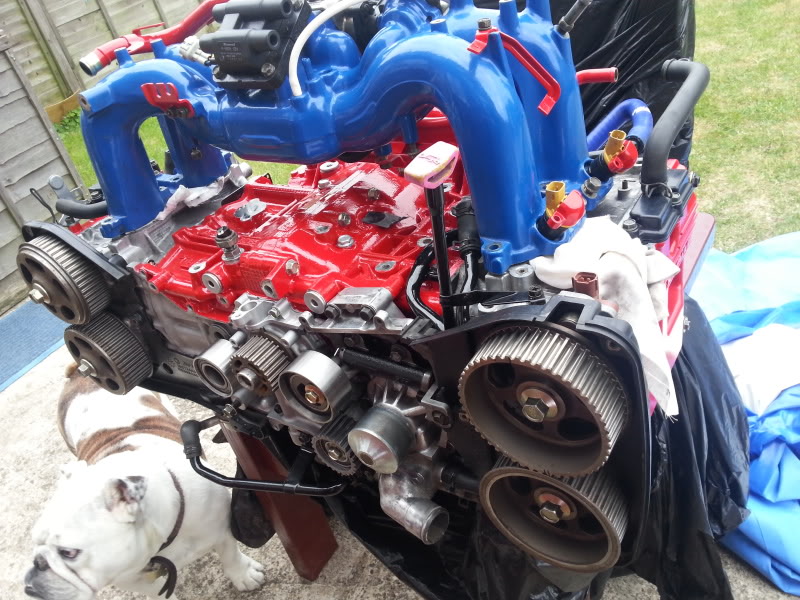
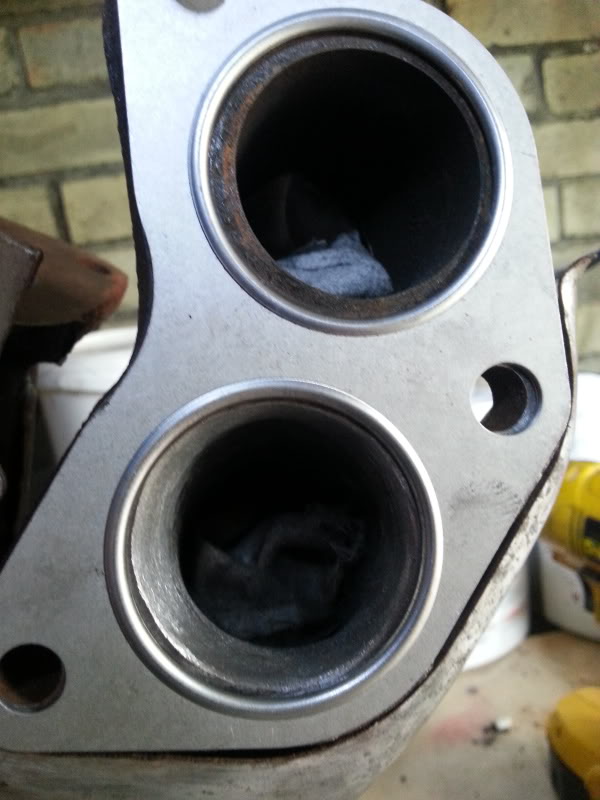
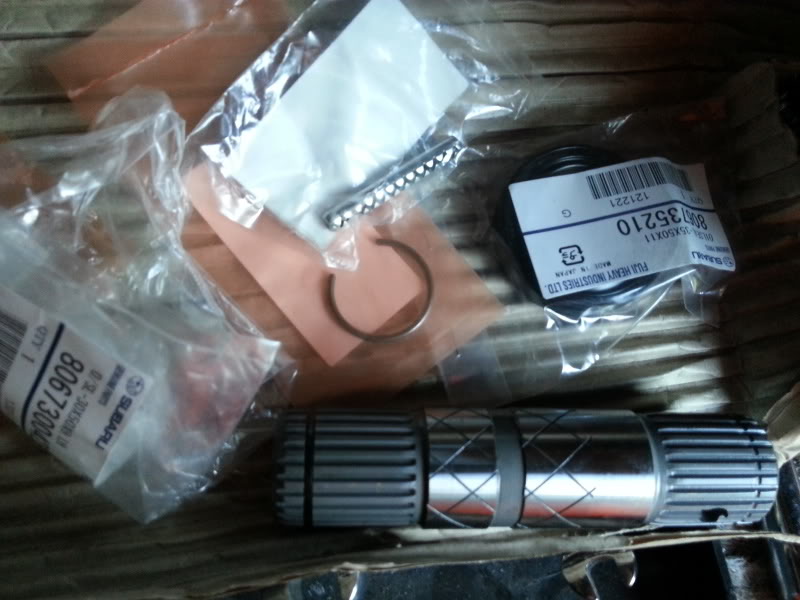
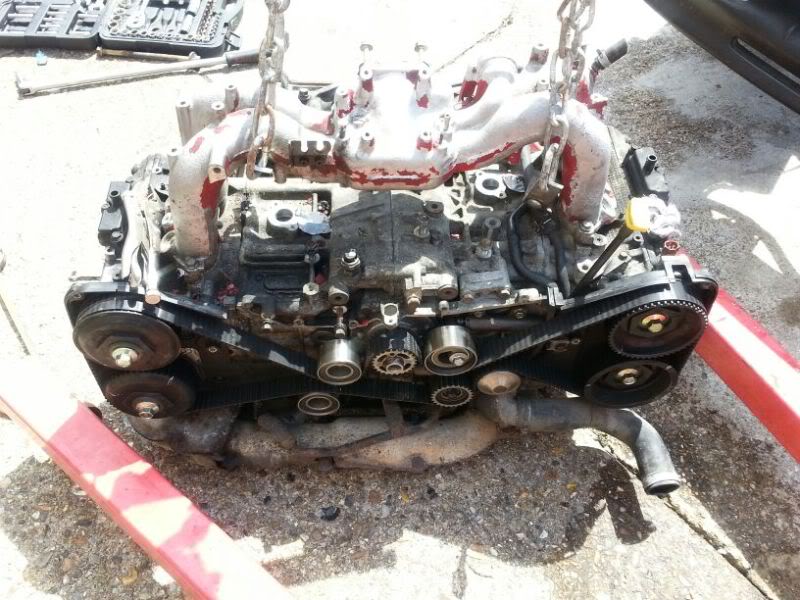
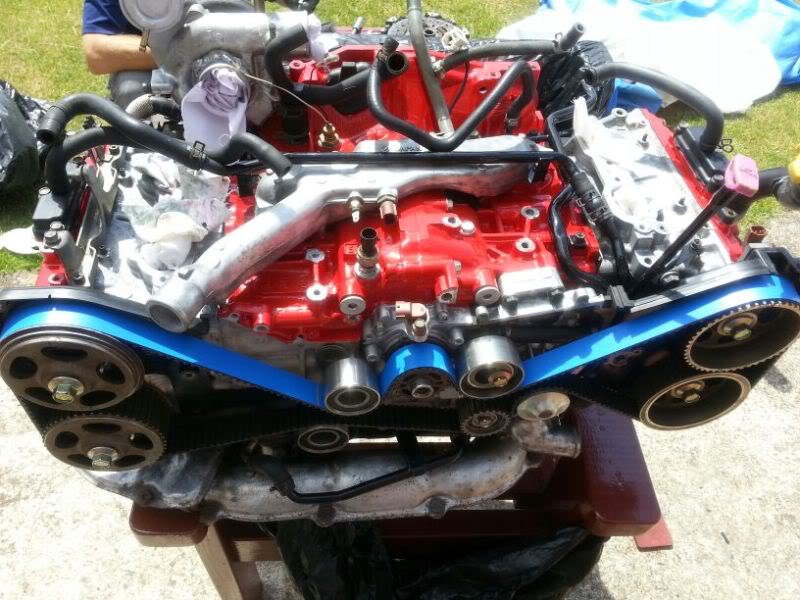
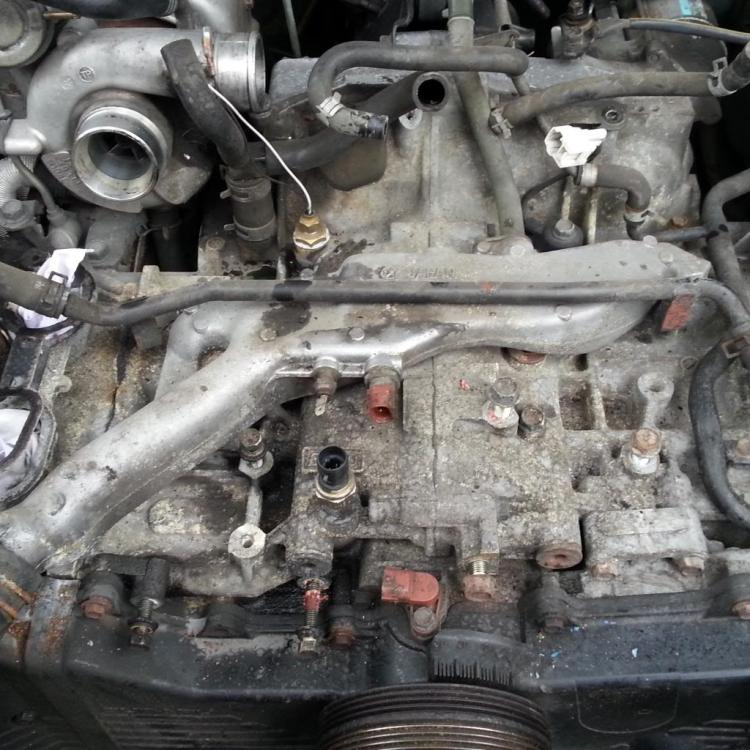
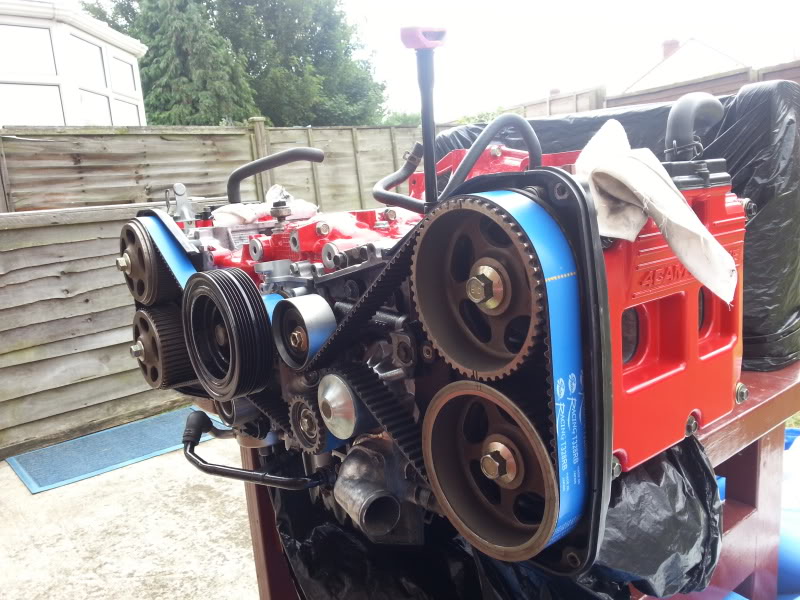
Next up was porting the headers and turbo exhaust housing, a bit of cleaning and getting the engine ready to be fitted porting the headers heres a before and after pic dialed in the cams and fitted the kevlar timing belt , I went with the gates belt rather than the cossie as id been told that their both made in the same factory but ,the cossie one costs £80 more .also I used the earlier hydraulic tensioner ,rather that the v3 and above spring loaded tensioner, as their stronger and less likely to fail fitted the ported headers and haywood and scott upipe then ran out of things to do untill i start to strip my scoob Think so i started cleaning parts under the bonnet started with the alternator as it looked a bit manky after a bit of time with a wire brush followed by cleaning a few other parts and painting the aux belt cover

-
did'nt take to many pics of this stage of the build but, made a fair bit of progress instead ;) cleaned the cams and cam caps , plastigauged the clearances on the bearing caps (which were fine) coated them in fresh oil/lubed the bearings with graphogen paste and fitted them with the cam lobes at base circle (lobes not pushing on the valves) .Set the cams in postion acording to the manual fitted the rear cambelt covers ,cam pulleys,all the new rollers and new hydrolic tensioner all that was left to do at this stage was fit the kevlar timing belt ,untill i Could free up a long weekend to fit the engine,because i dont have the suitable auxilairies,pipes,fuel lines water pipes ect ... due to the v1 long engine componets not being compatable with my v3 scoob .So i'll have to strip and clean them off my car and fit them to the forged long engine before i fit it into my scooby ;) chucked the inlet on top and poked the 550's and caps on top to see the finished look (again lol) excuse the !Removed! pink dipstick it was on the long engine when i got it ...:o honest as for the dog its always under my feet