Everything posted by Hudson
-
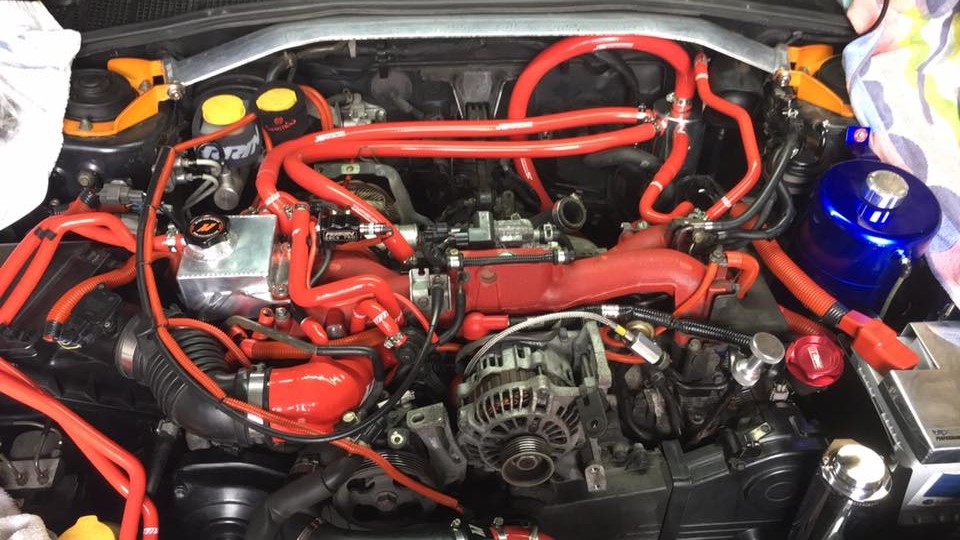
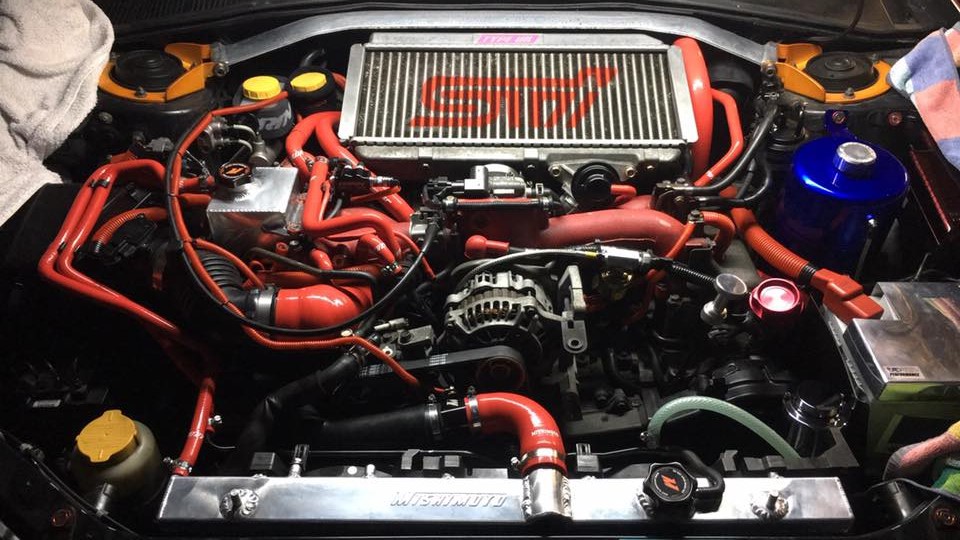
Engine bay clean
green gunk and small bristle/tooth brush, cling film/bag up any electronics and the intercooler and gently hose off
-
What have you done to your Subaru today ?
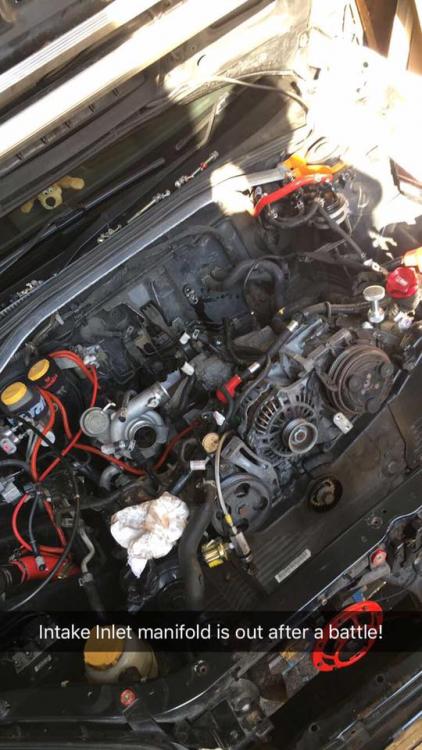
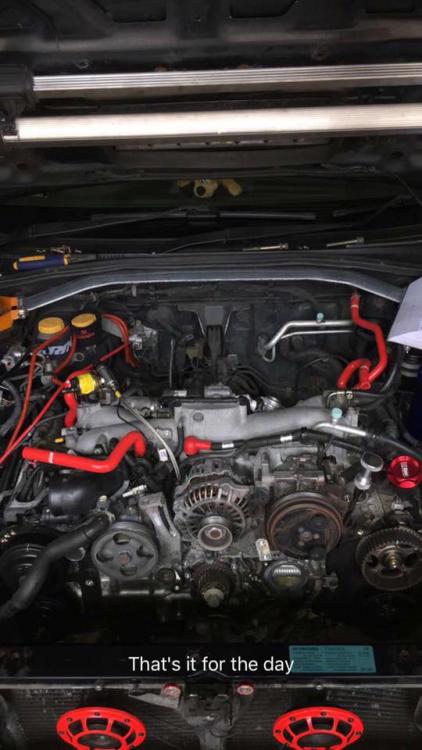
Day8 progress: Absolutely chuffed, bar a few seized bolts on the old turbo and exhaust that I needed a hand getting off it's all my own work and it's now ready to go to Andy Forest for mapping! Over the moon it's all running ok. It's been a busy weeks work. Picture below of it stripped out last week and the end result!
-
Catch can... Talk to me.
I've done a single catch can with 3 ports and a breather on my blobeye, just blanked off two of the induction hose ports, removed the breather pipe on the intercooler and connected the three breathers to the catch can and routed the catch can breather hose under the car past the passenger seats. I initially looked into the rcm baffled return to sump catch can but 1. It costs a fortune and 2. return to sump is only ideal if your racing or you have a fancy system that prevents the dirty oil vapour in the first place so I will just empty it every so often. it's a large 1 litre tank and baffled so happy days. I bought all the hoses and connectors separately to my own specification for the tank that is also supplied on it's own so if anyone wants any pointers it's a quite straight forward setup as I didn't like the idea of having to plumb two catch cans in with the already limited space as I wanted to relocate my new coolant overflow tank also.
-
What have you done to your Subaru today ?
Day 5 Progress from yesterday drilled the mounting points for the 3 port catch can, secured it then connected up the 3 ports and directed the breather underneath the car, still awaiting a new intercooler hose set but got impatient and wanted to test fire up the car so built the majority back up to test and found the fuel injector by the airbox is leaking so need to see if the seals are damaged or whether it just needs reseating correctly then will check again if the car will fire up
-
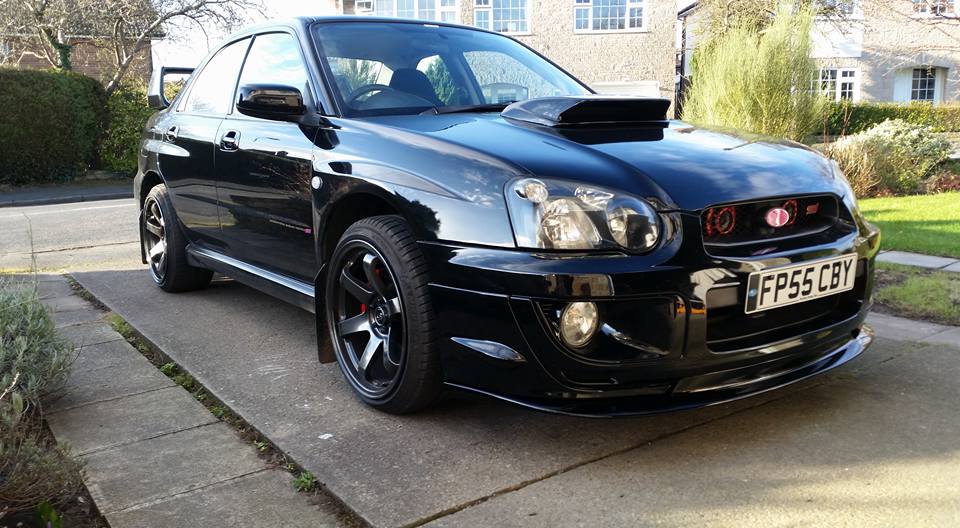
Project Blobeye
Day 5 Progress from yesterday drilled the mounting points for the 3 port catch can, secured it then connected up the 3 ports and directed the breather underneath the car, still awaiting a new intercooler hose set but got impatient and wanted to test fire up the car so built the majority back up to test and found the fuel injector by the airbox is leaking so need to see if the seals are damaged or whether it just needs reseating correctly then will check again if the car will fire up
-
What have you done to your Subaru today ?
had three days off from working on mine and getting back to it tomorrow after hanging all day today from a work do last night
-
Project Blobeye
I cut it to fit over it rather than in it as that was much easier then bonded it on
-
Project Blobeye
I only did mine because I knew it would give me lots off access space while I was doing my other bits especially the induction pipe and that was the time change it if I ever was, in terms of performance gains I don't think there is much of a noticeable difference to see. It's kind of like one of those last things to do if you have nothing left to do or need it off for some other reason
-
Project Blobeye
Getting the old one off was a bit of a struggle as you need to unclip every single pipe and wiring connector in the engine bay and undo alot of bolts in the engine bay to get it free and even then have to wiggle it about quite a bit to get it free from any other parts. I labelled up most of the pipes and wires with a marker pen and masking tape to get it back to together correctly. p Putting the replacement tgv delete inlet back on was a lot easier as I tidied up the wiring loom a lot before fitting and working with silicon pipes instead of the old rubber/plastic ones made it a bit easier too as the plastic oem intake pipe is just horrible. I'd say it's close to a full days work to do just the intake manifold.
-
Project Blobeye
Day4 progress - induction hose test fitted, inlet manifold all wired in and bolted down then got most of the rest of the bay back in and relocated the coolant overflow reservoir in a nice polished mishimoto tank and started on the 3port oil catch can plumbing. Waiting on mishimoto to deliver the intercooler hoses then can get the last few bits done and test fire her up!
-
Project Blobeye
I just keep getting moaned at about when I'll be getting the parts out the house and out the way what's not realised is all the old parts will be coming back till I sell some of them
-
Project Blobeye
Yeah I was whoring parts for a while till I was happy I had most things I wanted for the build! :p
-
What have you done to your Subaru today ?
Going to sell the turbo as it's still in really good condition, I used the 3" decat in the end as it was a perfect fit which saved me a tonne on buying another new
-
What have you done to your Subaru today ?
Day3 progress from yesterday, fitted the uprated fuel injectors and 3port boost solenoid then sorted out the wiring loom on the inlet manifold. Afternoons job was getting the exhaust headers, up-pipe, down pipe and turbo off - every single bolt was seized and needed heat to get off which was a pain but no broken studs or threads which I was relieved for. Got the ported wrapped headers and decat up-pipe on then swapped the turbo out for the new better vf35 and got the decat down pipe on. Finished the night by fitting the Cobra Race exhaust.
-
Project Blobeye
Day3 progress from yesterday, fitted the uprated fuel injectors and 3port boost solenoid then sorted out the wiring loom on the inlet manifold. Afternoons job was getting the exhaust headers, up-pipe, down pipe and turbo off - every single bolt was seized and needed heat to get off which was a pain but no broken studs or threads which I was relieved for. Got the ported wrapped headers and decat up-pipe on then swapped the turbo out for the new better vf35 and got the decat down pipe on. Finished the night by fitting the Cobra Race exhaust.
-
What have you done to your Subaru today ?
This video came to my mind today while trying to get to a few troublesome bolts... I didn't let them win though :D
-
Project Blobeye
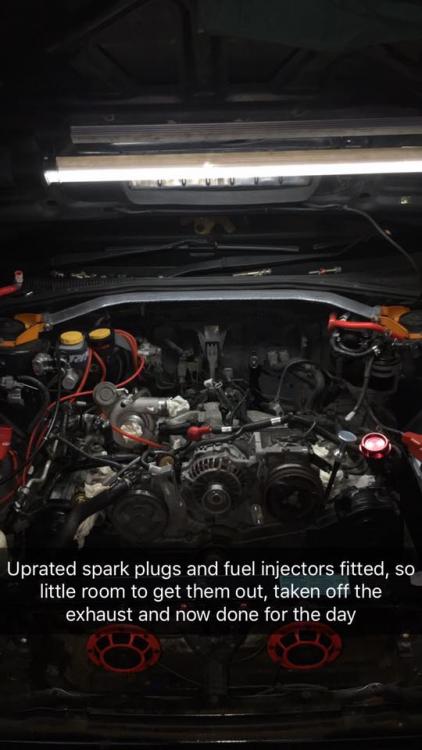
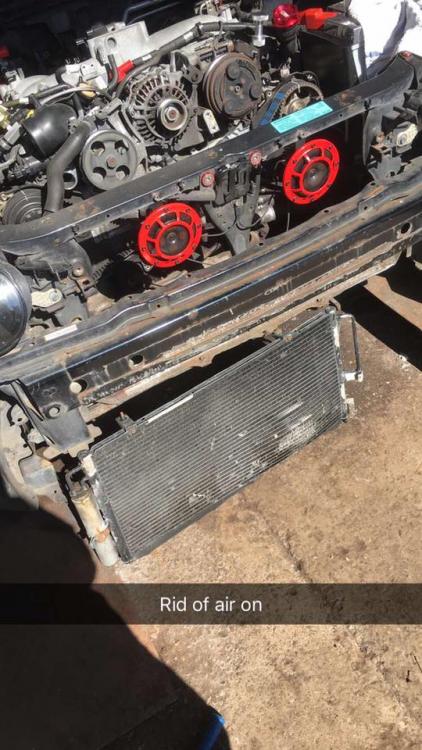
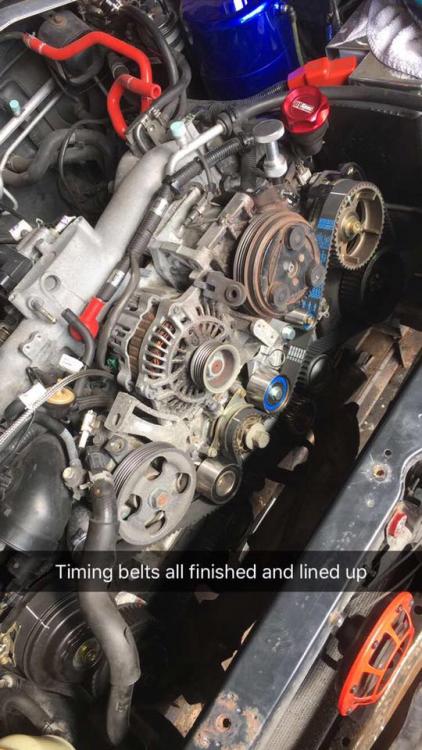
Today's work... new thermostat arrived so I could get the water pump back in then lined up the timing belt and got that reassembled. Removed the exhaust and decided to get rid of the aircon as it was looking tired. Spent the rest of the day battling getting the inlet manifold out then to end the day put in the uprated spark plugs, so little room to work with to get them buggers in
-
What have you done to your Subaru today ?
Today's work... new thermostat arrived so I could get the water pump back in then lined up the timing belt and got that reassembled. Removed the exhaust and decided to get rid of the aircon as it was looking tired. Spent the rest of the day battling getting the inlet manifold out then to end the day put in the uprated spark plugs, so little room to work with to get them buggers in
-
Project Blobeye
I used Araldite Standard 24 ml Syringe Epoxy Adhesive to seal a cut out section of the resonated box onto the elbow
-
What have you done to your Subaru today ?
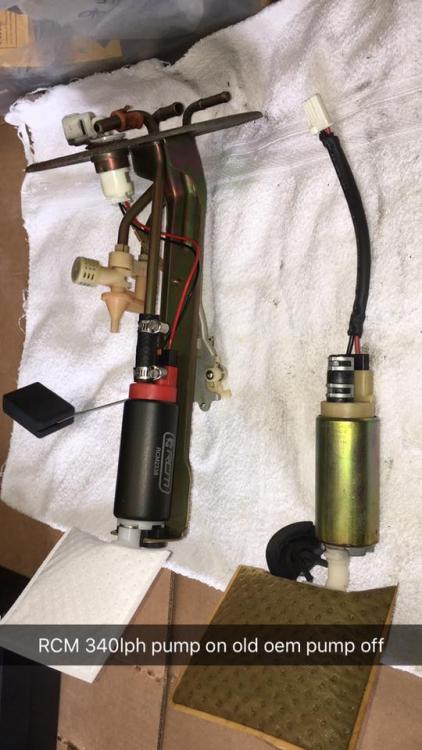
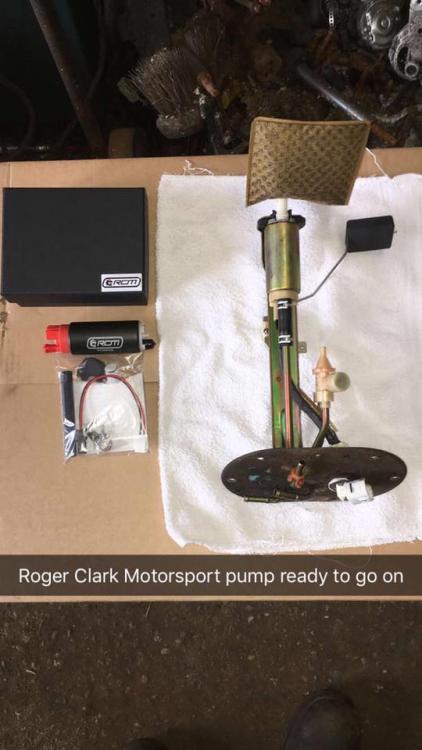
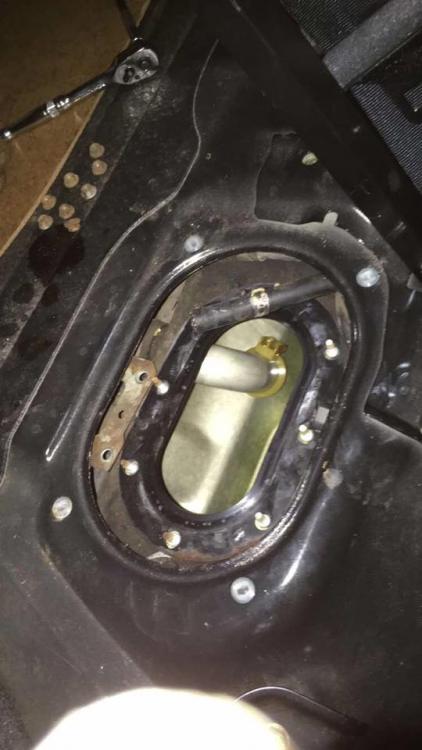
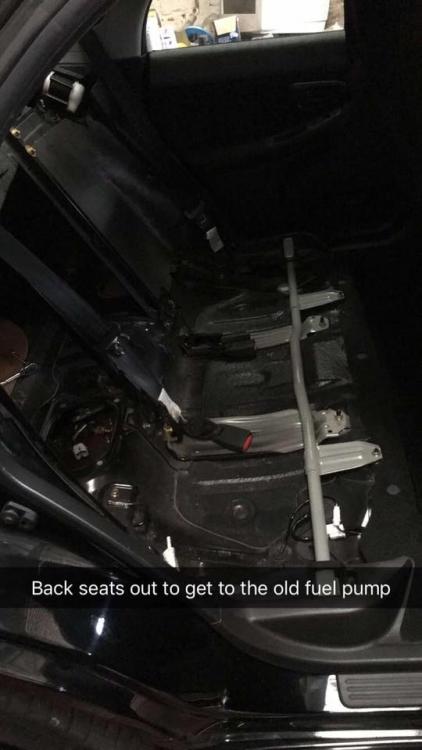
The pump install was pretty straight forward just be ready with a few rags to catch all the fuel that comes !Removed! out the pressurised line as there is quite a lot. This video here is good for pump installs if you get stuck with anything although he just changes his for a new full oem unit already built up which must have cost a pretty penny.
-
Project Blobeye
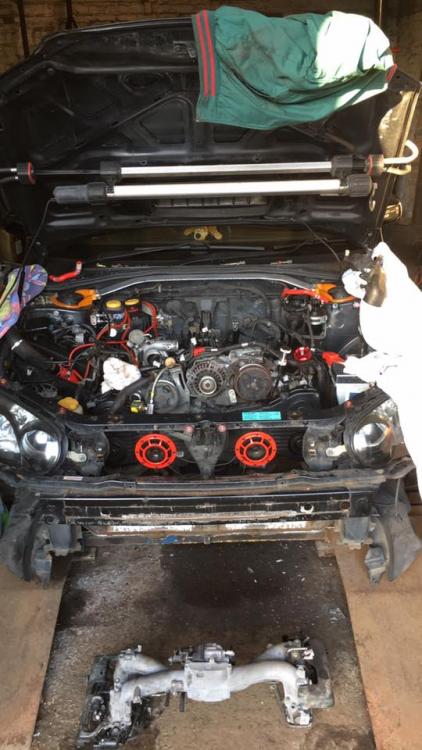
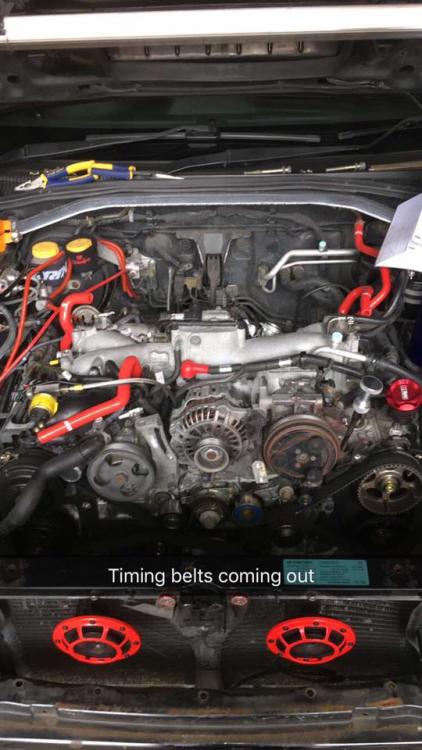
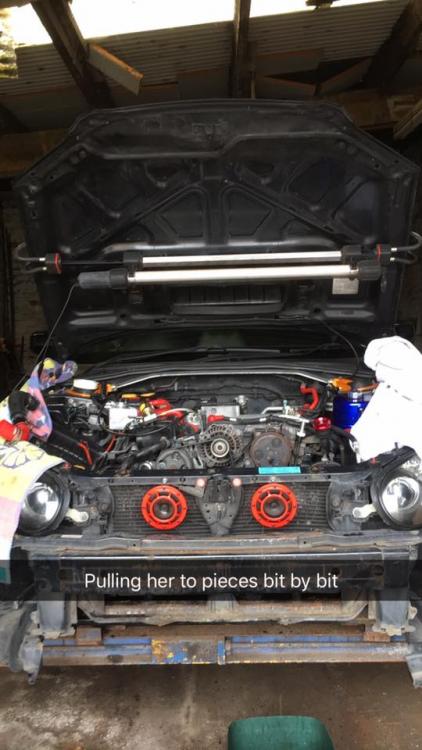
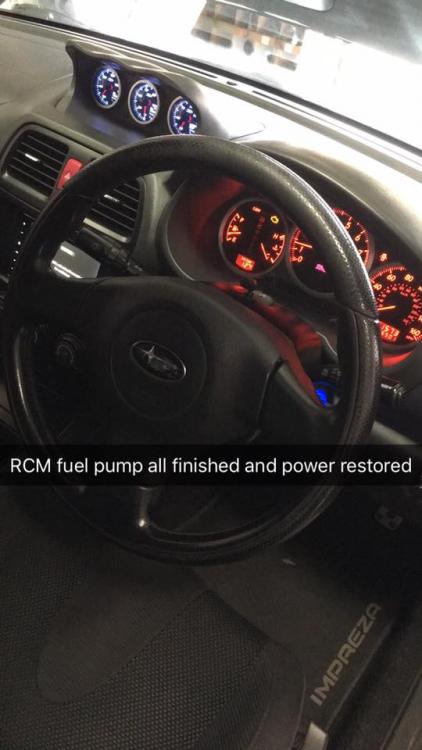
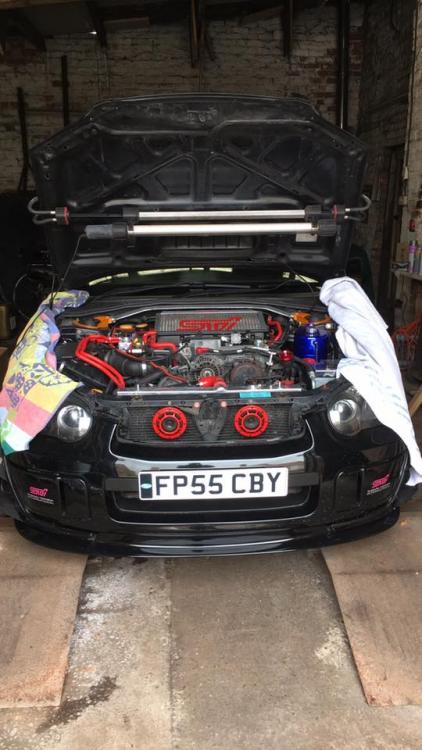
Started a big part of my performance mod project today and made a good bit of progress... started with the fuel pump first as wanted to know the new one was running fine before stripping out the engine bay which all went smoothly then progressed to dismantle and remove any big parts restricting access then began dismantling pipes and cables and labelled them up as I've been going along so I know what they are all for when it comes to rebuilding. Drained out the coolant and removed the rad and front bumper then dismantled the timing belt assembly and water pump and stopped at tea time as want a new thermostat o-ring so going to just get a full new thermostat tomorrow morning. Also debating removing the aircon rad and piping too as I don't use it much and the rad looks tired and has the reminisce of a bird imprinted on it.
-
What have you done to your Subaru today ?
Started a big part of my performance mod project today and made a good bit of progress... started with the fuel pump first as wanted to know the new one was running fine before stripping out the engine bay which all went smoothly then progressed to dismantle and remove any big parts restricting access then began dismantling pipes and cables and labelled them up as I've been going along so I know what they are all for when it comes to rebuilding. Drained out the coolant and removed the rad and front bumper then dismantled the timing belt assembly and water pump and stopped at tea time as want a new thermostat o-ring so going to just get a full new thermostat tomorrow morning. Also debating removing the aircon rad and piping too as I don't use it much and the rad looks tired and has the reminisce of a bird imprinted on it
-
Used Fuel Pump?
the fuel pump will obviosuly not increase power... but it will ensure that your getting the correct ammount of fuel when you need... the old pump becomes weak with time and cant keep up with the requirements of the engine when your upgrading and modding... it's an insurance policy so to speak
-
STI 2015
3k does sound rather steep for an exhaust, induction and a remap, definitely don't need to put an induction kit on it as the stock one is very good for up to 400bhp with a good panel filter from cosworth or pipercross etc. exhaust is much more of a personal preference of what noise you want the car to make as your not talking much of a big difference in terms of hp gains with a less restricted exhaust Can't say I've had any experience with scooby clinic but you can pick up an Invidia n1 exhaust for £700 for a 2015 sti, remap should be around the £500 mark and an induction kit if it was to go on is £150-300 so where they get £1000-1500 worth of labour for that work I don't know but sounds like they are taking you for a ride with that price I'd be a expecting a full turbo back titanium exhaust and very good cold air induction kit for that
-
AutoGlym Kit
I always use a two bucket method as if your car is relatively dirty you end up rubbing dirty grit all over your car and end result can leave new scratches and marks that can be avoided Autoglym stuff is good from my experience had a 2.5l body shampoo bottle and a 1l super resin polish from them that's lasted nearly three years which should last me to the end of this year Having a plenty of microfibre cloths is useful, I use separate ones for each step My break down of a full works wash, polish and wax is: Hose car down 2-3 bottle caps of body shampoo with hot water in two bucket method wash from top to bottom, do wheels last with wheel cleaner from front to back Hose car down again Clay bar the whole body using soapy water or detailer spray to keep the areas being worked on wet Hose down car once more Dry car off with microfiber towels and shammy leather Work super resin polish into the bodywork and allow it time to haze up being careful not to get it on headlights or plastic trim, badges etc as it tends to be a pain to remove it if you get it on these parts Buff off with clean microfibre towels Apply meguiars ultimate wax allowing 10 minutes for it to haze up and dry or in your case the autoglym extra glass protection doing two panels at a time so once you buff off the first of two panels, apply wax to another panel then buff off the second one and so on so you always have a panel hazing up while you are buffing another one. Once all the main graft is done next I use the glass cleaner round all the windows inner and outer Use wheel protector and back to black tyre dressing to get them nice and shiny Use back to black bumper shine on the plastic trims Lastly if it needs it I hoover all the footwells and mats and use an interior seat shampoo and dash cleaner to get all the inside clean and that's it I'll only do the clay bar, polish and wash every 2-3 months as it's a lot of work and takes me about 3 hours start to finish then just periodically just use the body shampoo and detailer spray


